Prepare your desktop environment for screencasting code
This guide will help you nail the technical aspects of presentation and accessibility, so you can present lessons that are visually clear and accessible for all learners and devices.
Screencasting isn’t easy. It’s a difficult skill to nail—and on top of that, we’re very picky about the screencasts we publish on egghead.
We won’t publish screencasts with small fonts, blurry text, and low-contrast color schemes that distract from learning.
While egghead screencasts are diverse, they must also share a sameness of quality and presentation.
Watch this video on removing distractions:
Always remember accessibility. A wide range of people will access your lessons on a variety of devices of varying quality. Maximizing the legibility of the code you present helps all learners absorb the information to the best of their abilities.
Set your settings
⚠️ IMPORTANT: We are about to discuss screen resolutions and it gets confusing because of the way modern monitors work and the desired output format. In all cases below we are talking about setting your monitor resolution and not capturing a section of your screen. All egghead videos should be recorded fullscreen and not a portion of the screen.
Before you do anything else, adopt these settings:
- 16:9 aspect ratio
- Stereo audio (you’ll set up your audio next)
- HiDPI mode on your monitor
We deliver content at 1080p (1920x1080 in pixels). We want this to be a crisp and legible output for the viewer, whether they’re expanding lessons fullscreen on a 65" TV screen or watching them on the bus.
We record our screens at 1280x720 in HiDPI mode. HiDPI mode is actually 2560x1440 pixel resolution because HiDPI uses 2x pixels.
This video shows you how to prepare the screen and mic:
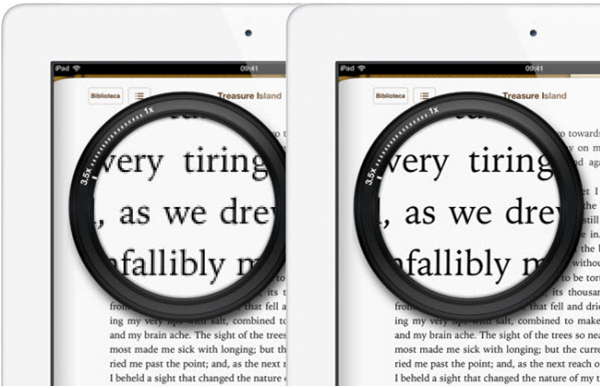
HiDPI mode—also known broadly as DPI scaling, or Retina display on Macs—doubles each pixel, allowing for highly readable text on very high-resolution screens.
Using HiDPI mode is essential. If you can't get it to work or have questions please ask before you record. Your coach is happy to help!
DPI scaling on Windows
On Windows, we've had success boosting the code fonts to max out the screen. Aspect ratio is key here, so set your screen to the highest 16x9 resolution and kick the fonts up.
Using DPI scaling features is helpful—you can scale the OS chrome and make UI more legible.
This article can tell you more about pixel scaling on Windows.
Access HiDPI mode on macOS
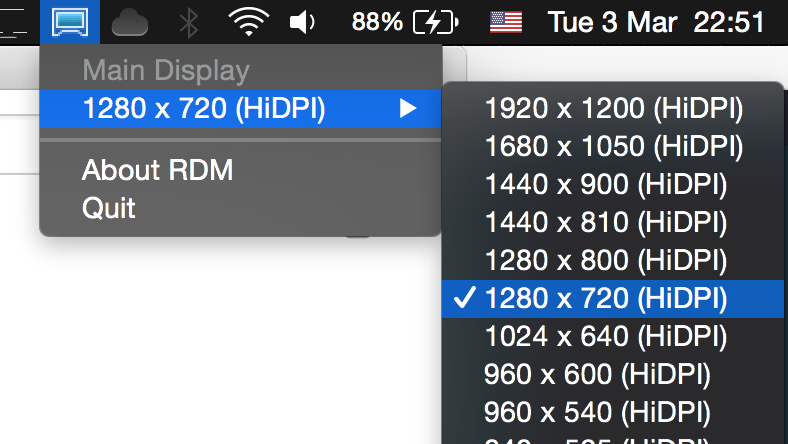
On Mac, you’ll get the best results if you record at 1280x720(HiDPI) mode. This resolution is achievable on 27" monitors and Retina MBPs. It effectively gives you a visible resolution of 1280x720, but it’s extremely crisp and readable on phones and tablets.
This mode is "hidden" by default. You can achieve it on a Mac with a software tool that exposes the option, like the RDM tool. On Retina MacBooks, the option works automatically. For external monitors, or non-Retina Macs, follow these instructions to enable HiDPI mode:
Another application that works well is SwitchRezX. It's shareware and requires a fee. If you can't use this mode, recording at normal 1280x720 or 2560x1440 are workable substitutes.
We have a site license for SwitchRezX for egghead instuctors. Please ask your coach in Slack!
By constraining to this small window, you can fill the screen effectively for coding screencasts. The most import thing to get correct is the aspect ratio. We don't want to present with any black bars around the screen. We want to give the user maximum code visibility at all times.
Screen and code layout
The code is the champion of an egghead.io screencast, so it must be comfortably readable for all learners.
- Maximum space: Give your code maximum horizontal space by using an 80- or 120-character "column" for the code and bumping the font size up to fit.
- Padding: Allow some padding for the top and bottom of the recording window, which could get cut off by Player Chrome. For instance, if you're recording the terminal, commands toward the bottom might not be visible. You don’t want to frustrate or distract your viewers.
- 3-column layout: We will typically work in a 3-column layout, with the editor taking up 2/3s and a browser on the right side in the remaining 1/3 of the screen. You might prefer to flip back and forth between the browser and the editor—up to you!
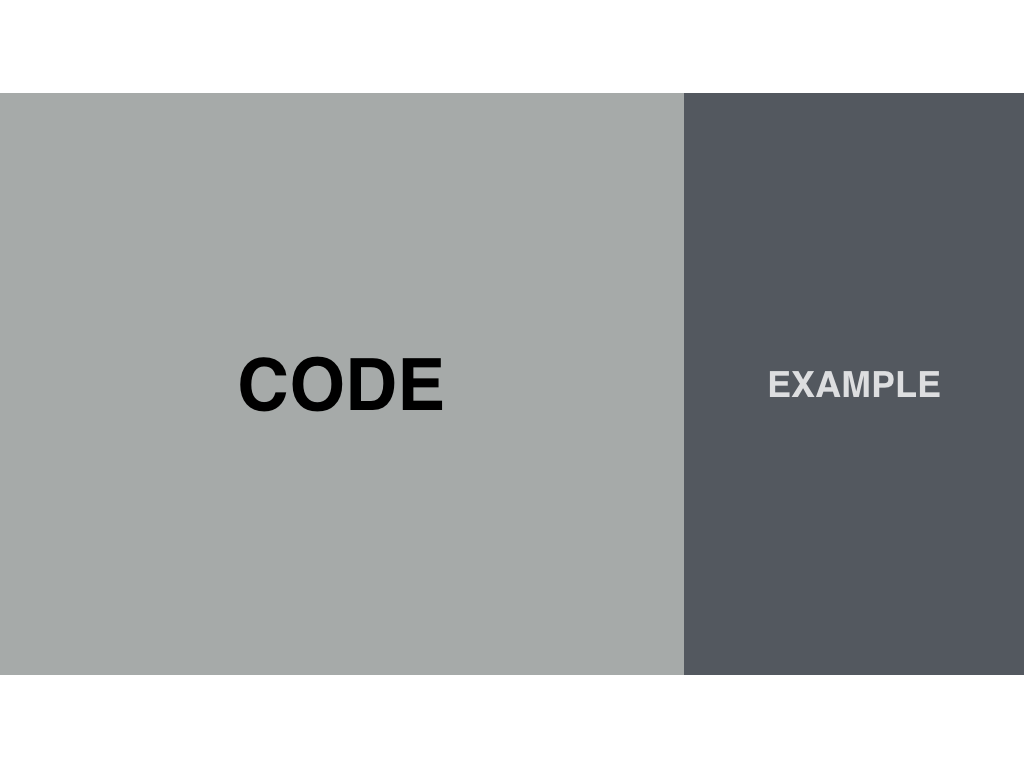
We prefer this 2:1 ratio of code:example. It will look something like:
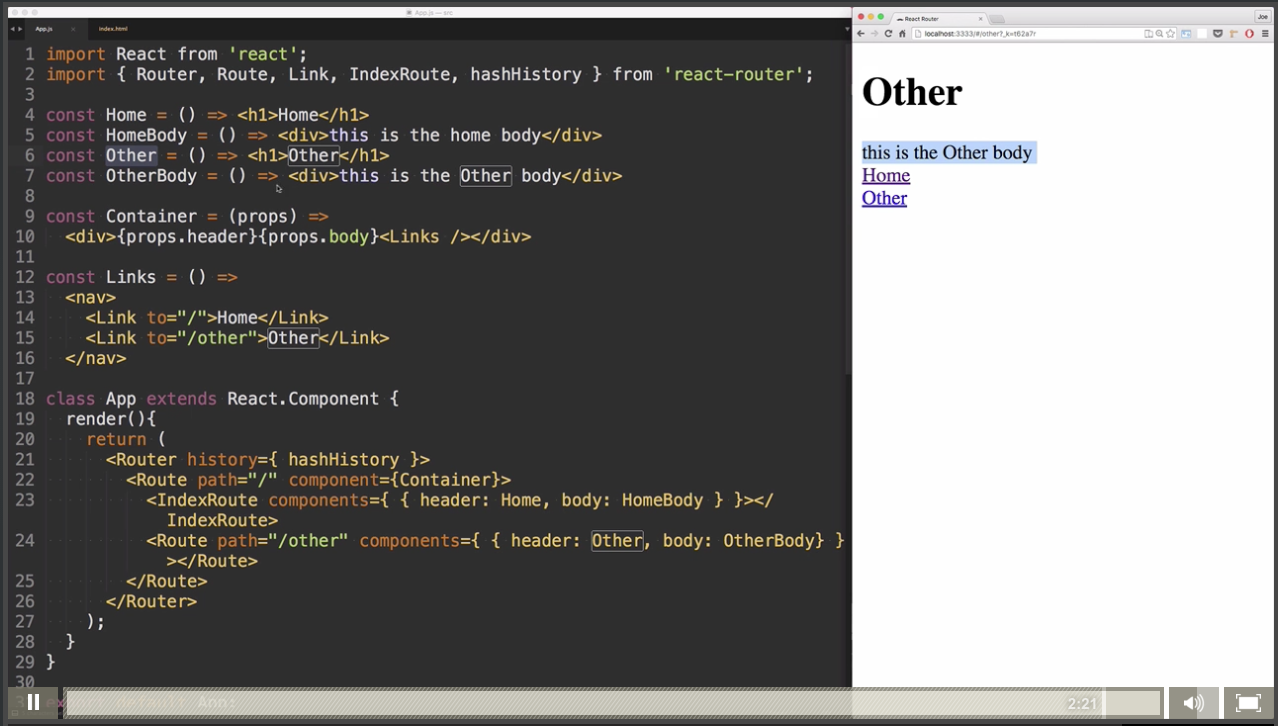
Notice that the code's font size has been increased to maximize the space available.
Place your example on the right, occupying 1/3rd of the screen. Consider that your example will need to fit in that space when you’re creating it. Choose a simple example with a minimally responsive layout, and you’ll be just fine.
In some cases, the example is replaced by a terminal, or a terminal window shares the right column with the example. In this latter case, the terminal window would be on the bottom-right section of your screen.
Remember that your lesson viewers are here to see the code. Make it the starring feature!